Uploading Invoice Files
This alternative to using the Worklist folder (where files are automatically read in by ARM) allows you to manually upload Invoice Files.
This method is useful if you do not have access to the Worklist folder.
| The Global Setting Enable OCR Manual File Upload must be set to Yes for this to work. |
To upload invoice files from a location other than the Worklist:
-
Open the Draft Invoices page from the Side Menu.
-
Click
 Upload Invoice Files on the Menu Bar.
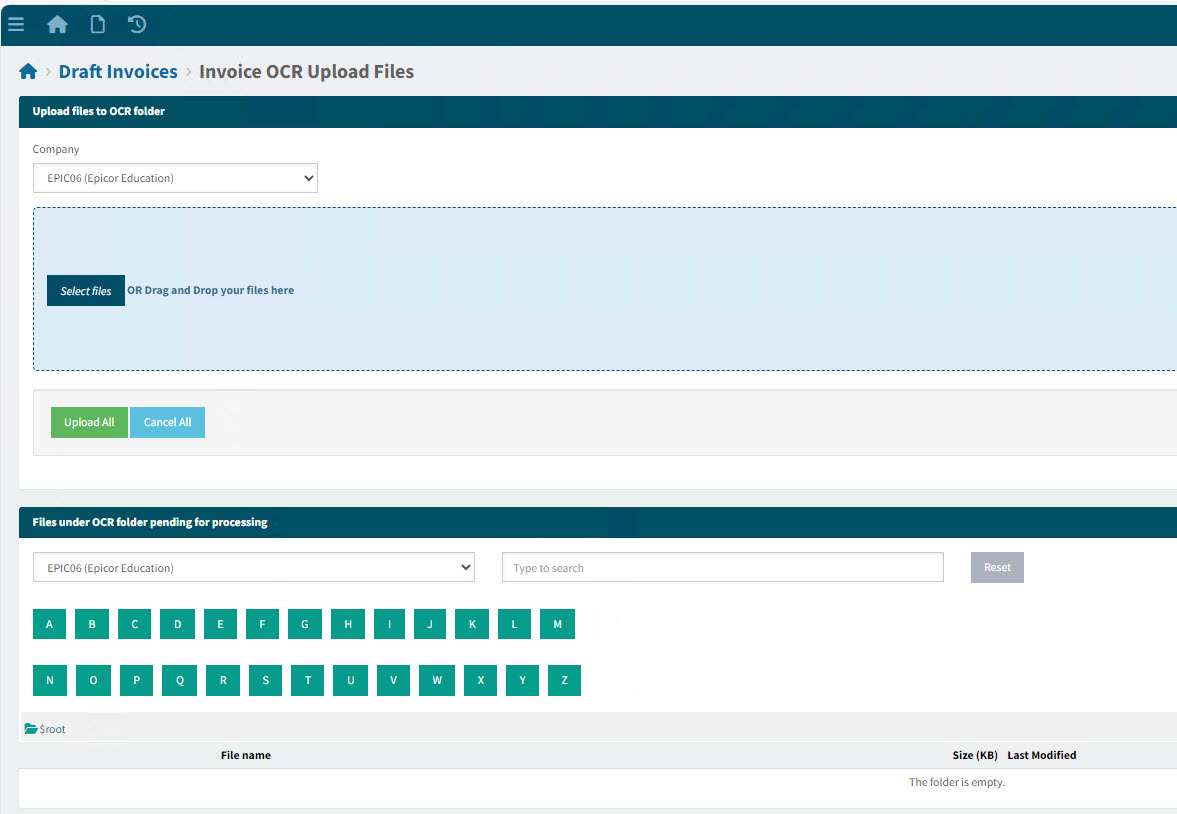
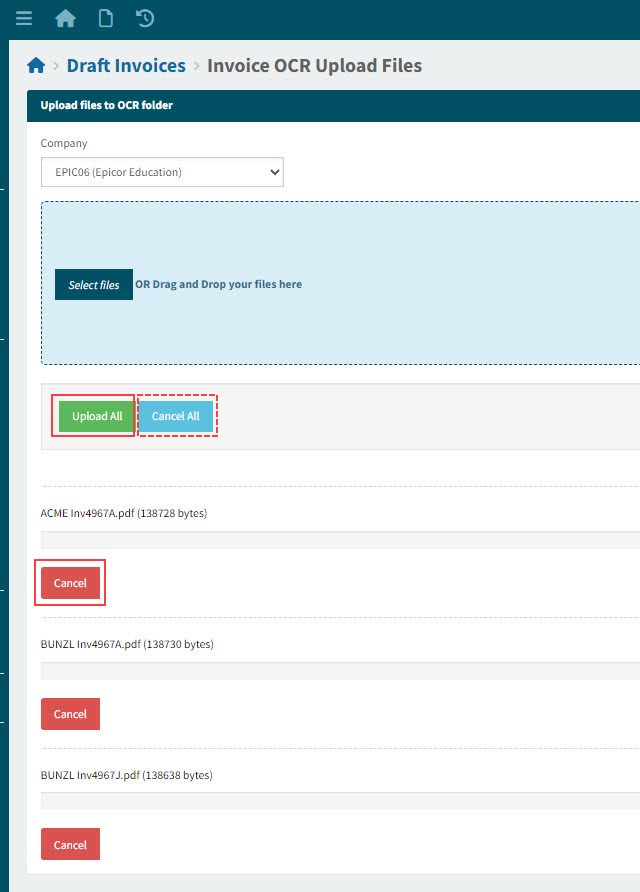
The Draft Invoices > Invoice OCR Upload Files page opens:
-
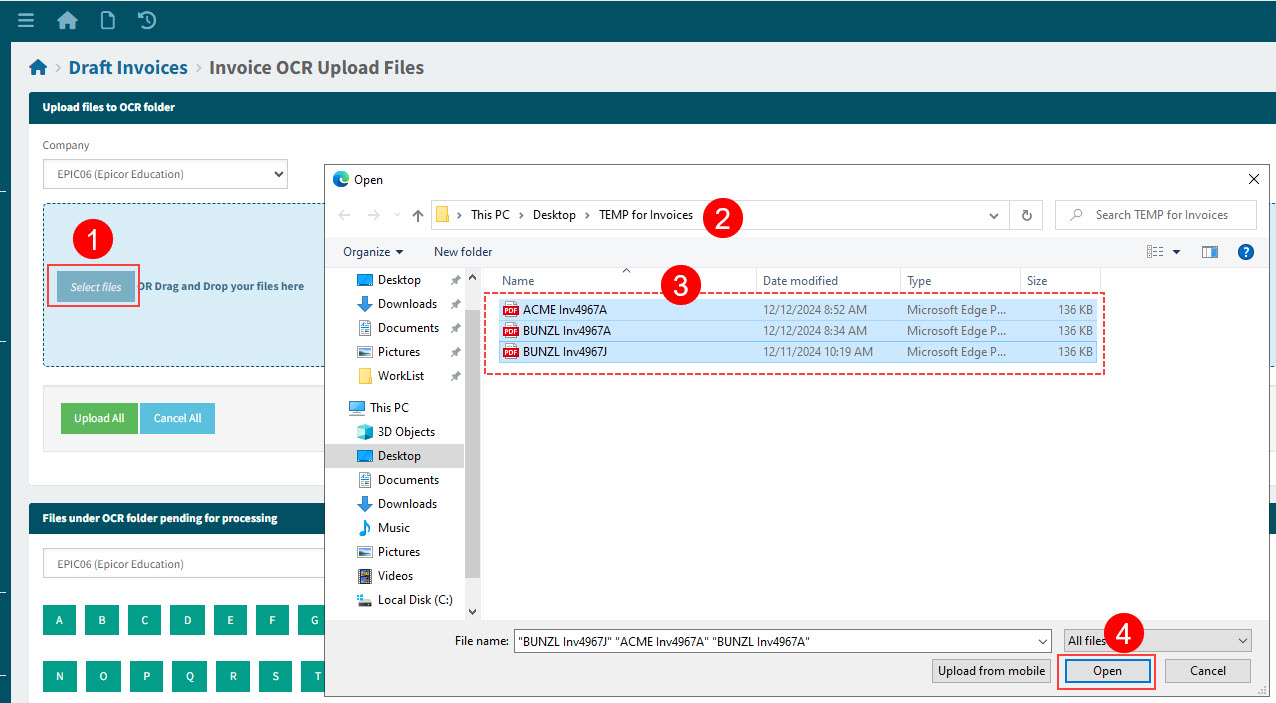
Click Select files on the blue panel (Upload files to OCR folder), then navigate to where your files are located, select the files, and click Open to enter the selected files.
View Details
OR
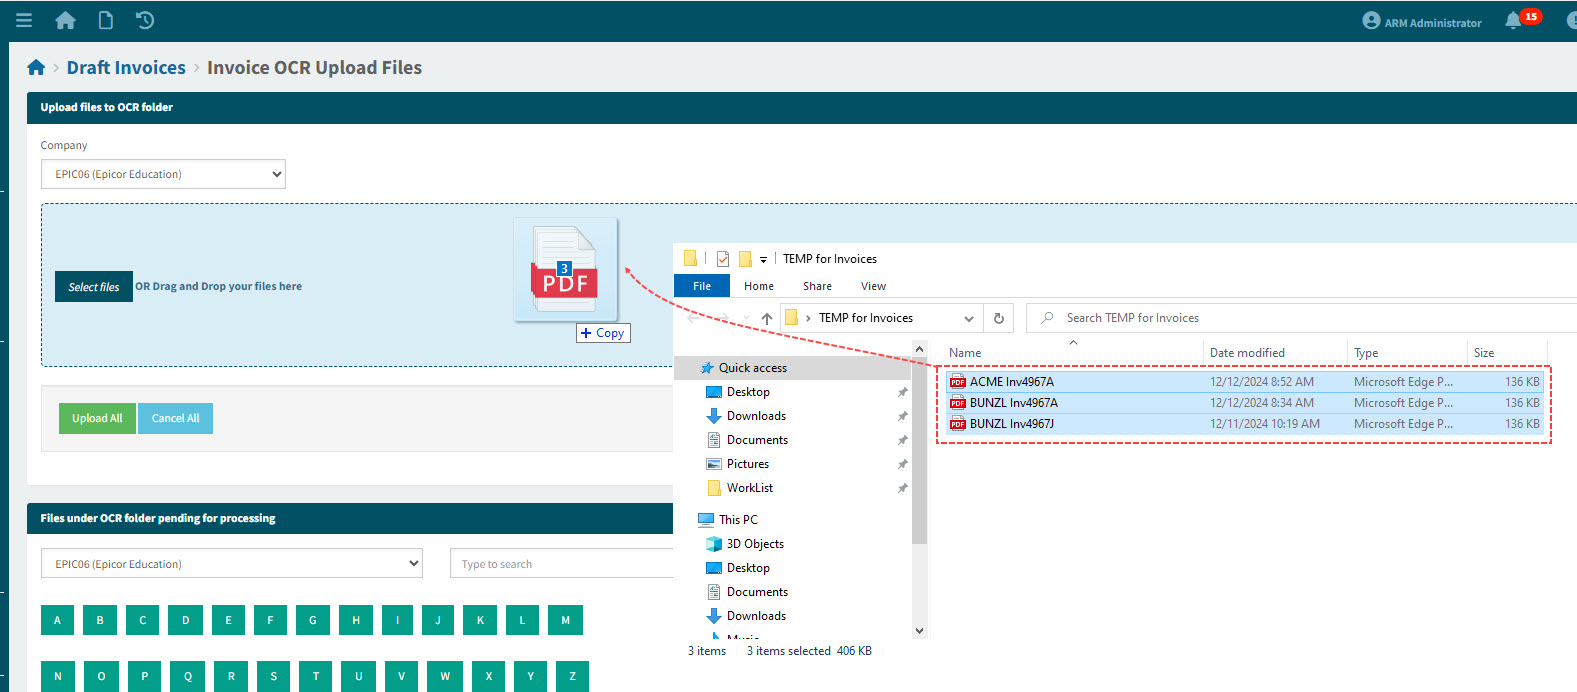
Open your file location, select files, then drag and drop your selected files to the blue panel.
View Details
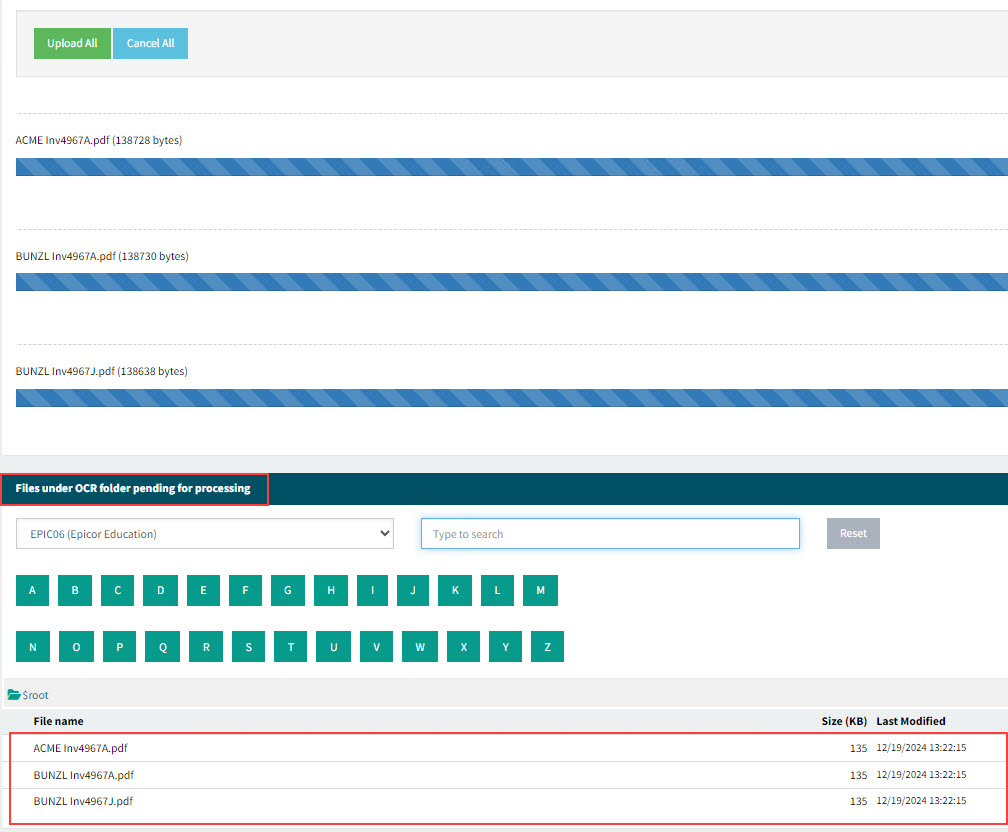
The entered files are listed on the lower half of the page, in the section Files under OCR folder pending for processing.
View Details
-
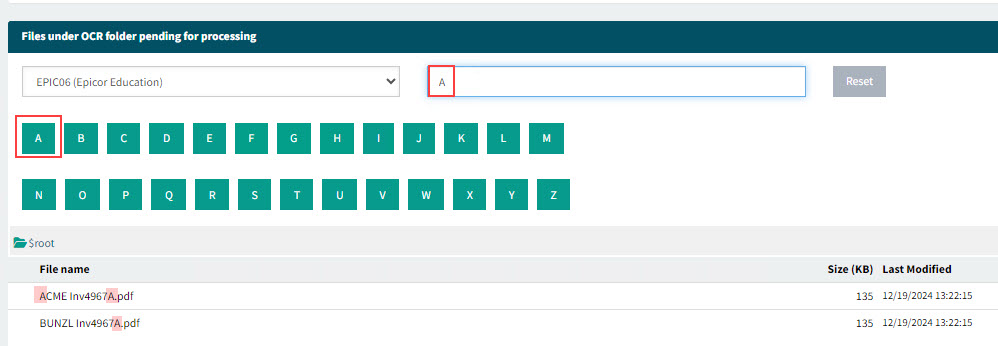
To filter the list of files, use the keypad buttons to enter a single letter, or type a search string into the filter box.
View Details
-
Click Upload All to upload the filtered/unfiltered list of files. To remove any of the files from the list, click the Cancel button below the file name to remove it before uploading. You can also click Cancel All to remove all files from the list.
View Details
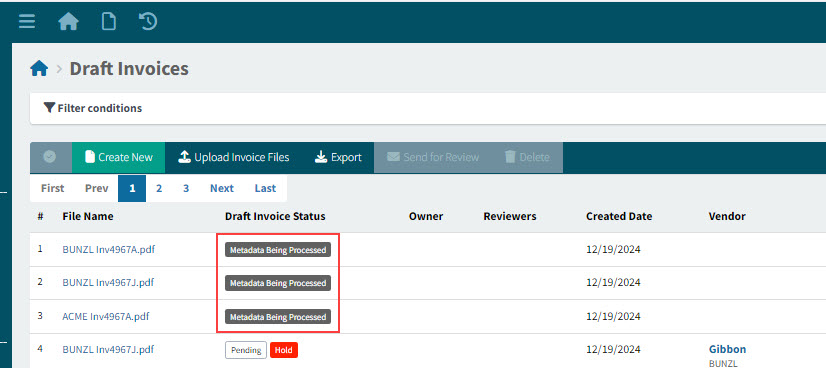
The listed files are uploaded and appear in the Draft Invoice page, where processing begins. See Automatically Generated Draft Invoices.
View Details