Requesters
Requesters are added to ARM in one of two ways:
-
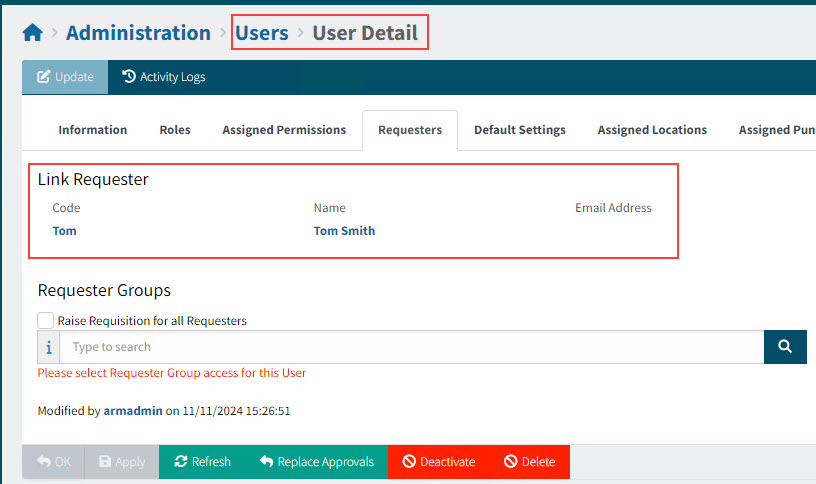
Automatically when new users are created. This is called the Link Requester, when you are in the User screen.
View example of Link Requester:
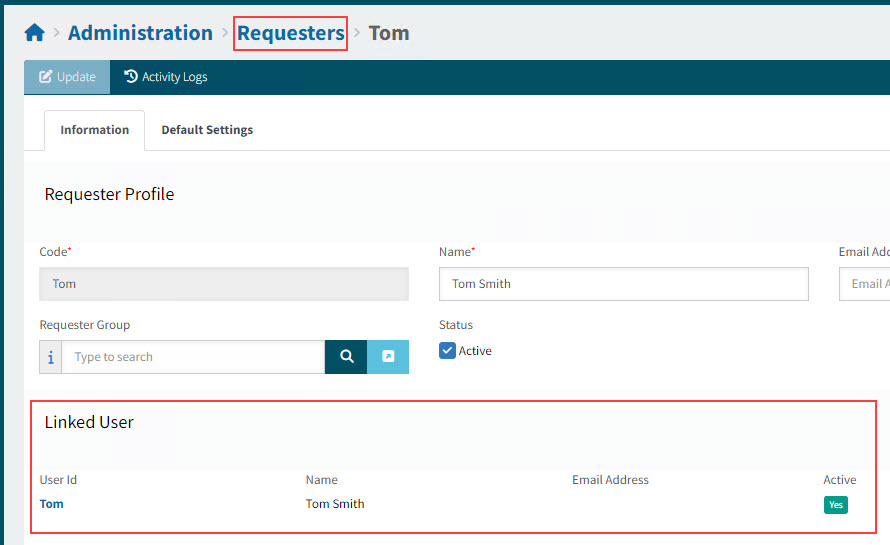
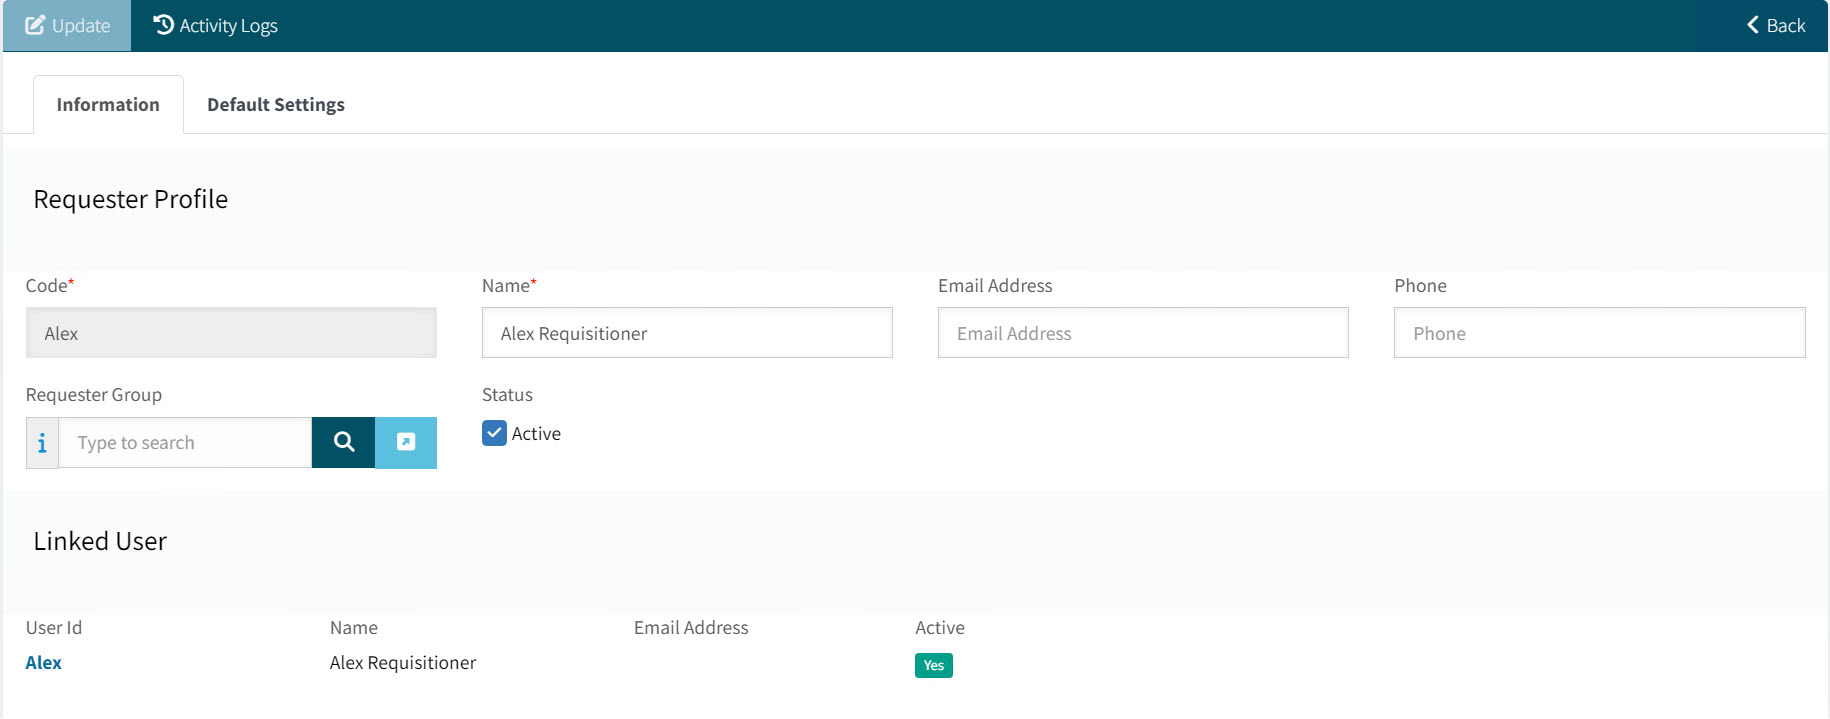
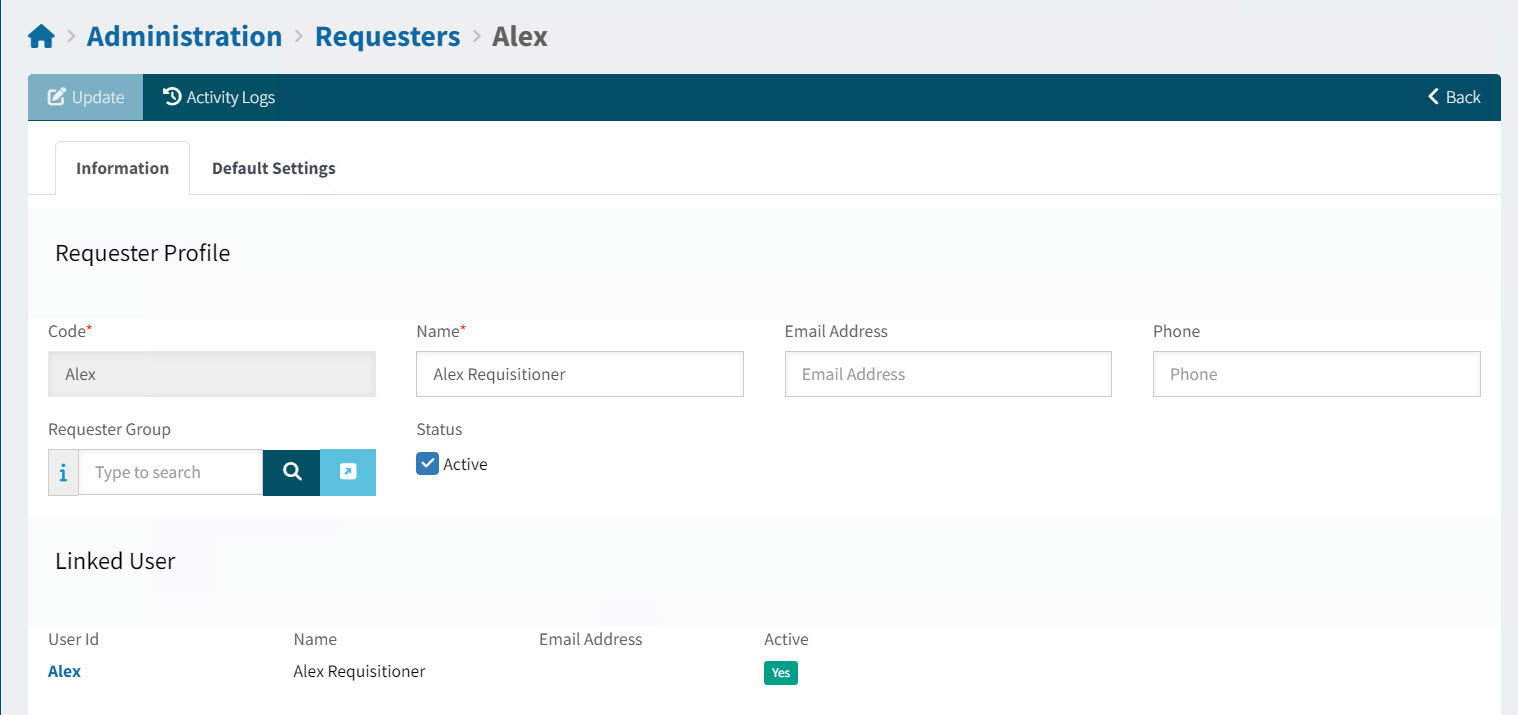
On the Requester page, the requester’s link to the user appears in the Linked User section.
View example of Requester with Linked User:
-
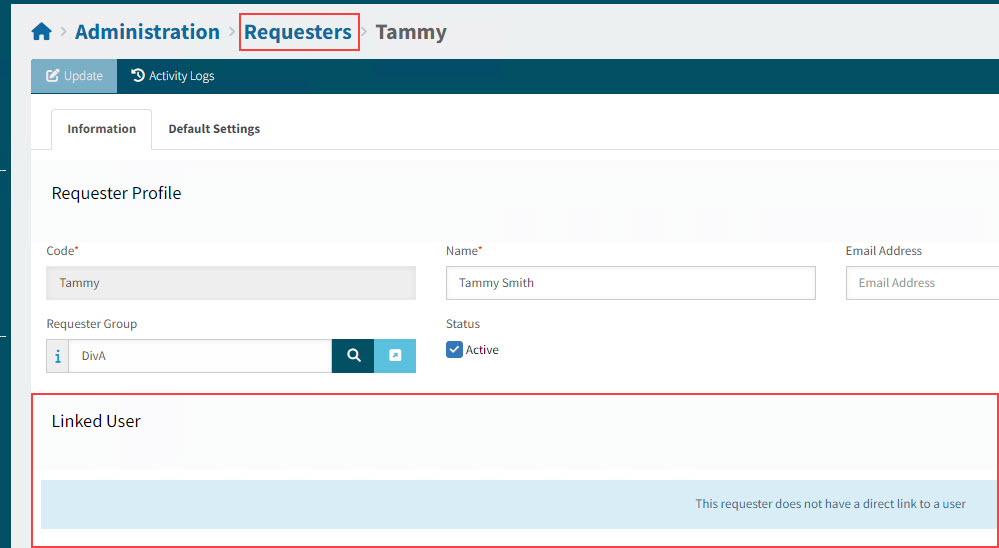
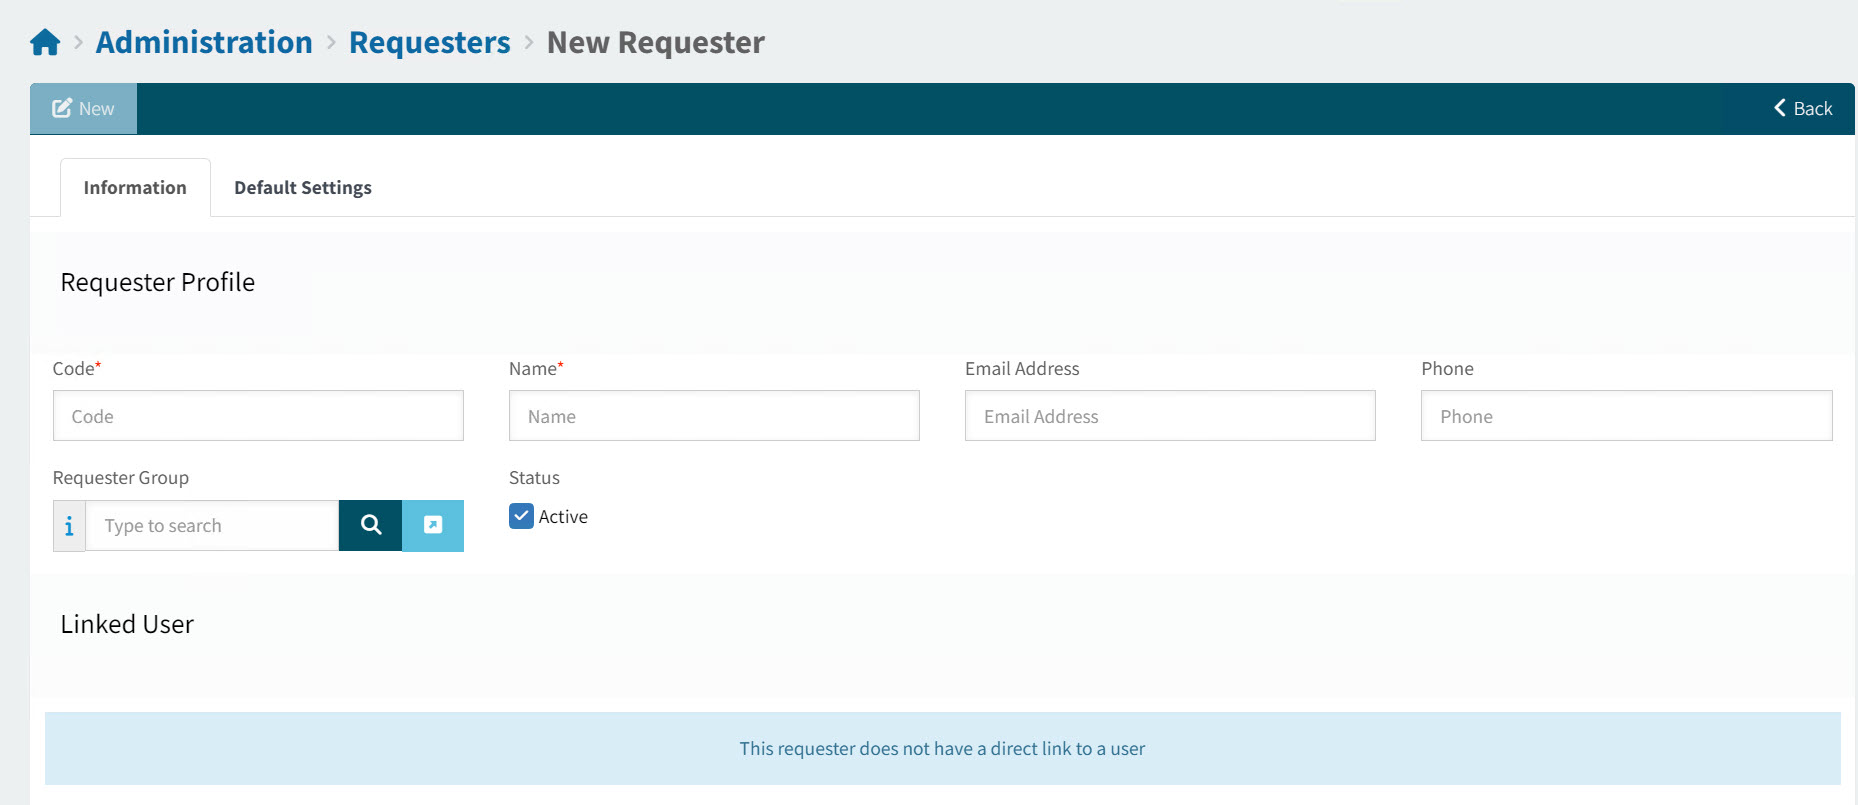
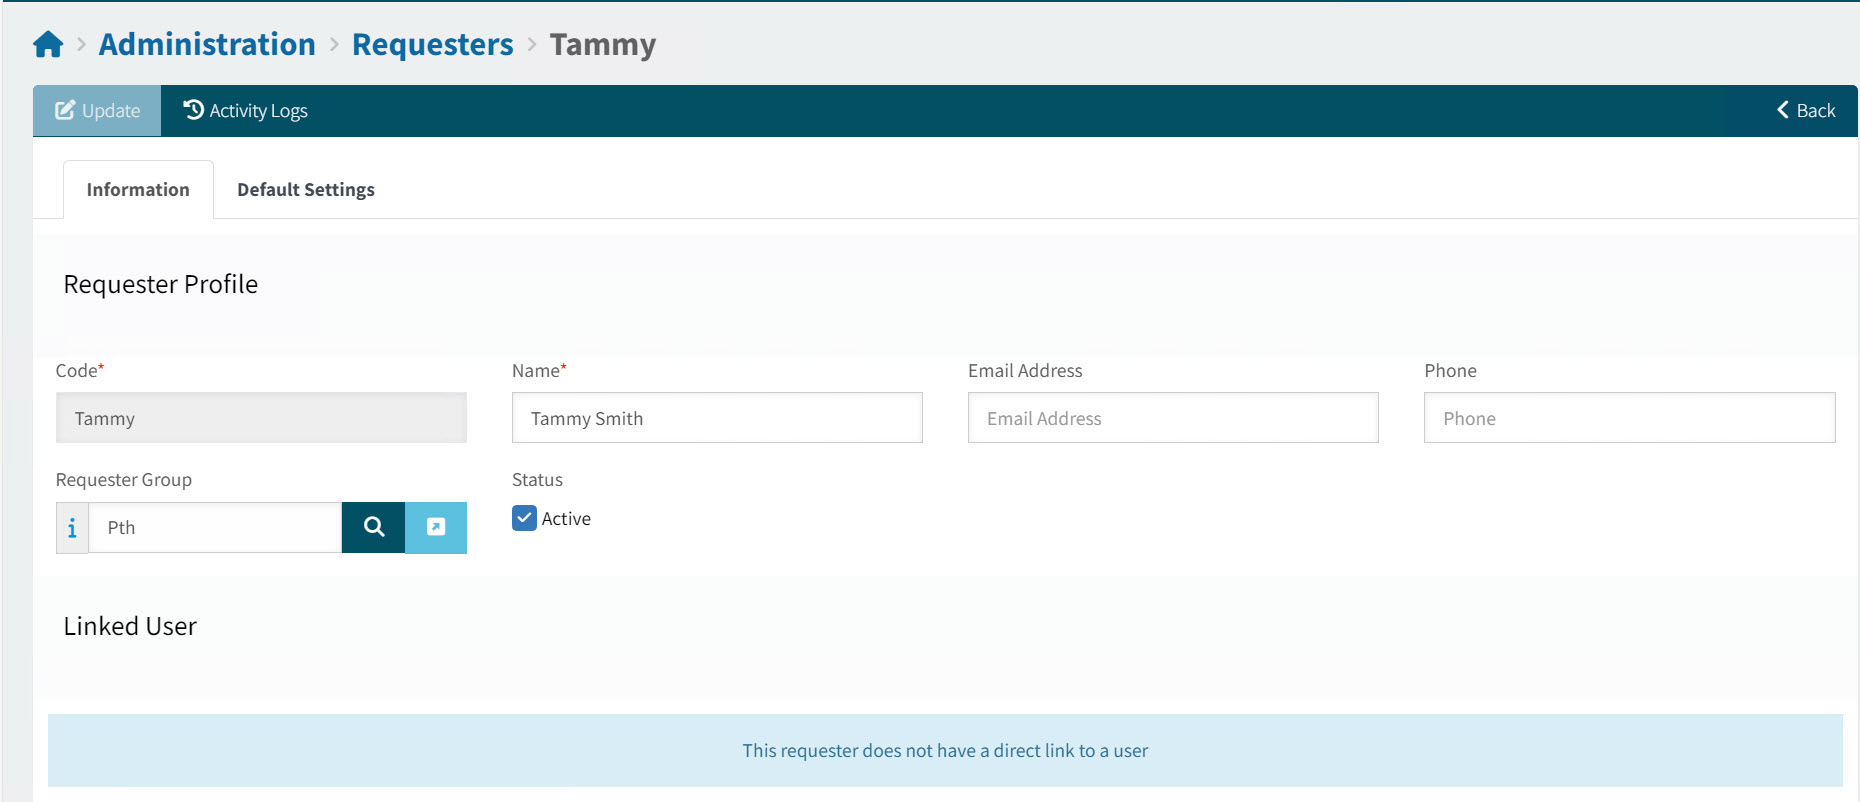
You can also create a requester and assign it to a requester group. This requester will not be linked to a user (there is no Linked User).
View example of Requester with no Linked User:
Maintain Requester Details
You can maintain details for a requester, even if they were created automatically.
To maintain requesters:
-
Select the Requester menu item on the Administration Page. See Administration Page.
A list of requesters matching the search criteria is displayed.
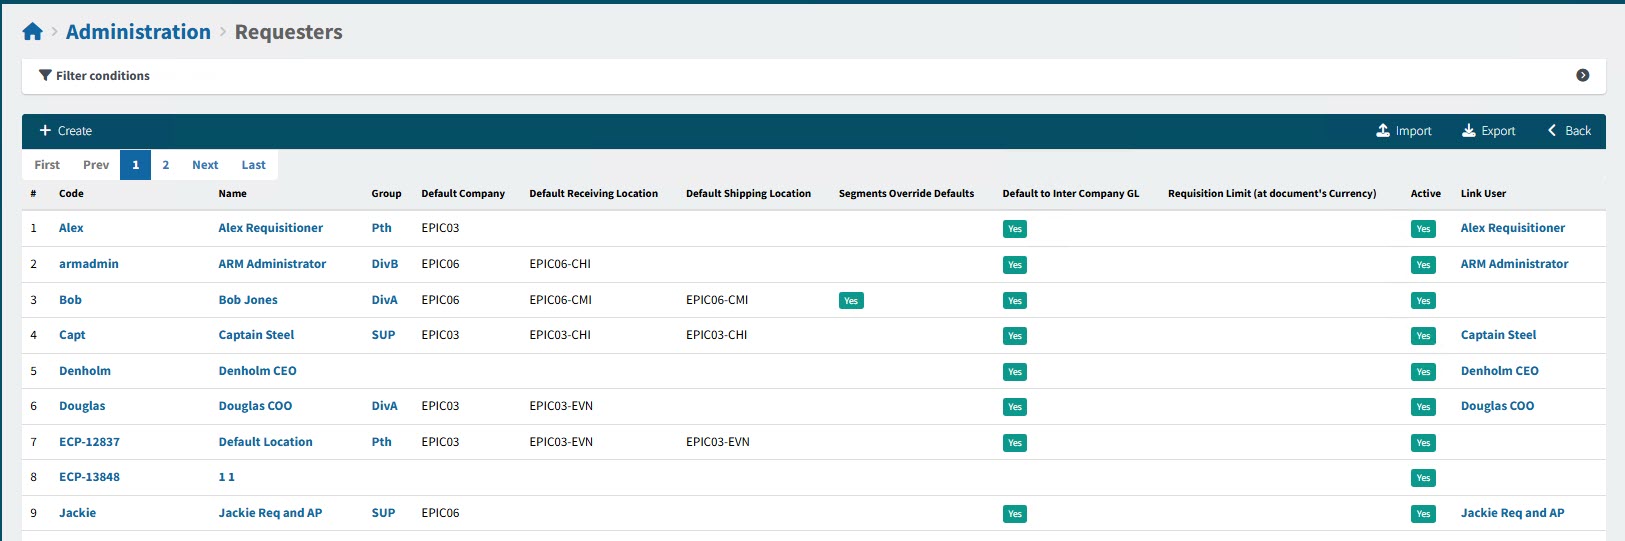
Code Click on the Requester Code to open the requester details.
Name Click on the Requester Name to open the requester details.
Group The requester group that this requester belongs to.
Default Company The requester’s default company.
Default Receiving Location The requester’s default receiving location.
Default Shipping Location The requester’s default shipping location.
Segments Override Defaults The requester’s Segments Override Defaults (Yes or No).
Default to Inter Company GL Defines whether the Default to Inter Company GL rule applies to the requester.
Requisition Limit (at document’s Currency) The requester’s Requisition Limit.
Active Indicates whether this is an Active requester (Yes or No).
Link User This is the user linked to the requester. Not every Requester has a linked user. Click on the Link User name to open the Administration > Users > User Detail page for that user.
-
Maintain Requesters:
-
To create a new Requester, see Creating a Requester.
-
To edit a Requester, see Editing a Requester.
-
To open the Linked User on the Administration > Users > User Detail page, click on the Linked User’s name.
Creating a Requester
On the Administration > Requester page:
-
Click the
 Create button on the Menu Bar.
The Requesters > New Requester page is displayed.
-
Enter a Requester Group.
-
Enter a unique Code.
-
Enter a Name.
-
Enter an Email Address.
-
Enter a Phone number.
-
Select a Requester Group for the Requester to belong to. Authorized Users of this group may raise a Requisition on behalf of the new Requester.
-
Ensure the Active check box is selected.
-
-
Select Apply to save the new Requester.
-
Update the details on the Default Settings tab for the new Requester. Follow the instructions in Editing a Requester.
Editing a Requester
On the Requesters page:
-
Select a Code or Name to open the Administration > Requester > [Requester Code] page.
The page has two tabs:
-
Information
-
Default Settings
View Detail of Requester
Requester with Linked User:
Requester without Linked User
-
-
Edit the information on the two tabs, clicking Apply on each tab to save the changes.
-
Step 1: Update the Requester Information.
-
Updating the Requester Profile on the Information Tab
To update the Requester Profile:
-
Open the Information tab.
View Information Tab
-
Optionally edit the Name.
-
Optionally edit the Email Address.
-
Optionally edit the Phone.
-
Select a Requester Group, or change the Requester Group. You can also clear the Requester Group.
-
To de-activate the requester, clear the Active check box.
-
Select Apply to save changes, or OK to save changes and return to Requester. To abandon your changes, select Refresh.
Assigning Default Settings to a Requester
These are the defaults for Requesters from this Requester Group when a User creates a new document on their behalf, such as a new Requisition.
| Note that the Default Settings for an individual Requester, if available, take precedence over these settings. |
To update the Default Settings for a Requester:
-
Open the Default Settings tab.
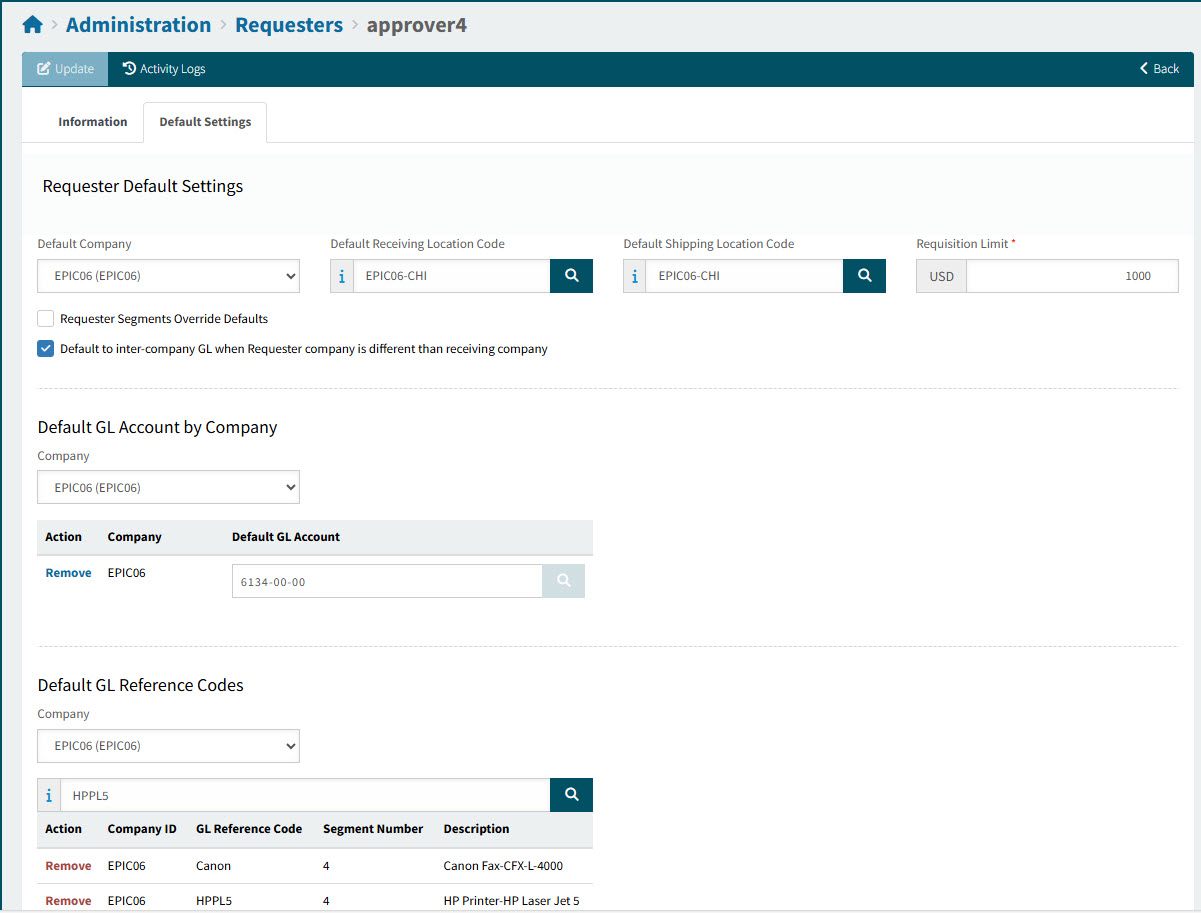
View Default Settings Tab
-
Optionally enter or select values in the Default Settings fields.
-
Select a Default Company from the drop-down list.
-
Search for and select a Default Receiving Location Code.
-
Search for and select a Default Shipping Location Code.
-
Enter a Requisition Limit.
Amounts below the Requisition Limit are auto-approved. (Note that the approval tree’s configuration must have Enable User Limit selected.)
If the Requisition Limit is 0.00 (zero), there is no limit (all amounts will be under the Requisition Limit). -
Select Requester Segments Override Defaults to default the GL Account Code from the Default GL Account, instead of using the GL Account Mask Sequence setting to build a GL Account Code. If there is a Default GL Reference Code, then this is used as the default GL Reference.
-
Select or clear the Default to inter-company GL when Requester company is different than receiving company check box.
-
Selected: The system will default to inter-company GL accounts when the Default Company is different from the receiving location’s company.
-
Cleared: The GL account defaults according to the standard logic for the receiving company, without applying inter-company logic.
-
-
Select Default GL Account by Company. This allows you to choose a default GL Account Code for one or more of the available companies.
-
Select a Company from the drop-down list.
-
Select a Default GL Account for the company.
-
-
Select Default GL Reference Codes from the search box.
-
Search for and select a Default Account Mask or enter a GL Mask, i.e. a partial GL Account code.
-
-
Select Apply to save changes, or OK to save changes and return to Requester. To abandon your changes, select Refresh.
How the Defaults Settings are Used
- Default Company
-
The Default Company for the requester is the Company used in a new document. If this is not available, the Default Company for their requester group is used.
- Default Receiving Location Code
-
The Default Receiving Location Code for a requester is saved in their Requester Default Settings tab. If this is not available, the Default Receiving Location Code for their requester group is used.
- Default Shipping Location Code
-
The Default Shipping Location Code for a requester is saved in their Requester Default Settings tab. If this is not available, the Default Shipping Location Code for their requester group is used.
- Default Account Mask
-
The Default Account Mask for a requester is saved in their Requester Default Settings tab. If this is not available, the Default Account Mask for their requester group is used.
- Requester Segments Override Defaults
-
If this check box is selected on the Requester Group, then the GL Account Code is defaulted from the Requester Group’s Default Account Mask, instead of using the GL Account Mask Sequence setting to build a GL Account Code (see GL Account Mask Sequence). If the Requester Group has a GL Reference to match the GL Account, then this is used as the default GL Reference. The same applies if this check box is selected for the Requester. Requester details will take precedence over Requester Group details.
- Default to inter-company GL when Requester company is different than receiving company
-
If this check box is selected, the inter-company GL account is used when the Requester company differs from the receiving company.
- Requisition Limit
-
Amounts below the Requisition Limit are auto-approved. (Note that the approval tree’s configuration must have Enable User Limit selected.) If the Requisition Limit is 0.00 (zero), there is no limit (all amounts will be under the Requisition Limit).
The Requisition Limit from the requester is used. If that is zero (0.00), then the Requisition Limit from their requester group is used.
Exporting a Requester
Use this function to export a list of requesters. This can be used as follows:
-
As a template for performing bulk updates on selected requesters.
-
As a file of requester updates to import in a different environment.
To create a file of requesters:
-
Filter a list of requesters to update, using the filter conditions.
-
Click the
 Export button on the Menu Bar.
This creates a CSV file of the filtered requester groups, called 'Requesters_[YYYY-MM-DD]'.
The file contains instructions, as well as details for the list of selected requesters.
Importing a Requester
Use this process to bulk update a batch of requesters.
-
Export a selection of requesters to a file.
-
Update the contents of the file.
-
Click the
 Import button on the Menu Bar.
 -
Click Choose File, then browse to and select the file to import, and click Open.
-
Click Import.
-
Wait until the progress bar under the Upload Progress shows 100% Completed.
After importing:
To update the details for any one requester, select that requester from the Administration > Requesters page. See Editing a Requester.